How to Make Your Own Shellac and 3 Ways to Use It
What is Shellac?
Our easy tutorial below will show you how to make your own shellac, but what is shellac and where does it come from? Shellac is a type of resin formed by the secretions of the lac insect, it leaves these secretions on the twigs and branches of trees in Southeast Asia. The lac is harvested from the trees in the form of amber flakes, which when combined with alcohol can be used as a varnish for sealing and finishing wood surfaces (also called shellac). In icon painting we use shellac to prepare our surface for painting or gilding.
What are the benefits of making your own Shellac?
In this tutorial you will learn how to make your own shellac at home, instead of buying ready-made solutions. One of the benefits of making your own Shellac is the cost-effectiveness; you’ll be able to make multiple batches of shellac from one pot of shellac flakes for a lower cost than buying bottles of ready-made solution. Another benefit to making your own shellac is knowing exactly what ingredients are going into it.
How to make your own Shellac
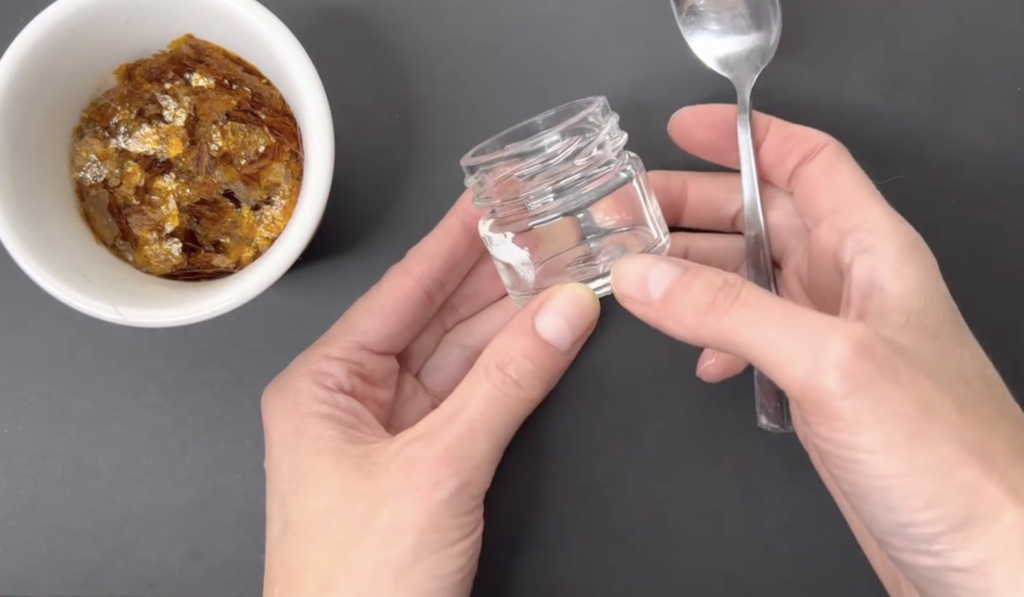
You will need:
- Shellac flakes
- Surgical spirit (or strong alcohol that’s at least 92% ABV)
- A small, clean jar with lid
Step 1
We will be working with a 1:5 ratio, so transfer enough shellac flakes into your jar to fill about one-fifth of the jar. A small amount goes a long way!
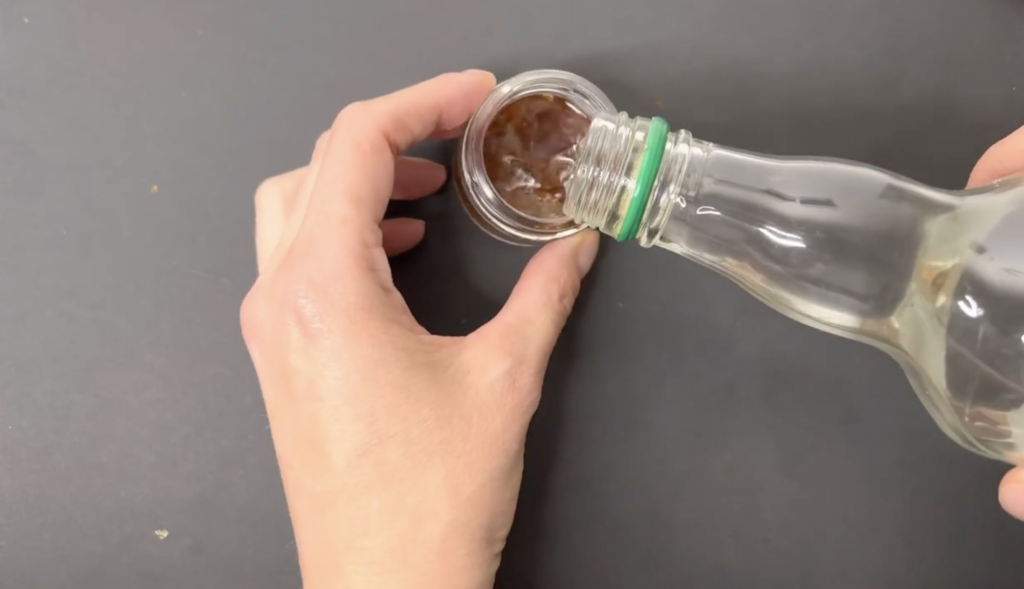
Step 2
Carefully pour in the alcohol so the jar is almost full.
Step 3
Put the lid on the jar and leave it for about 10-12 hours, or overnight.
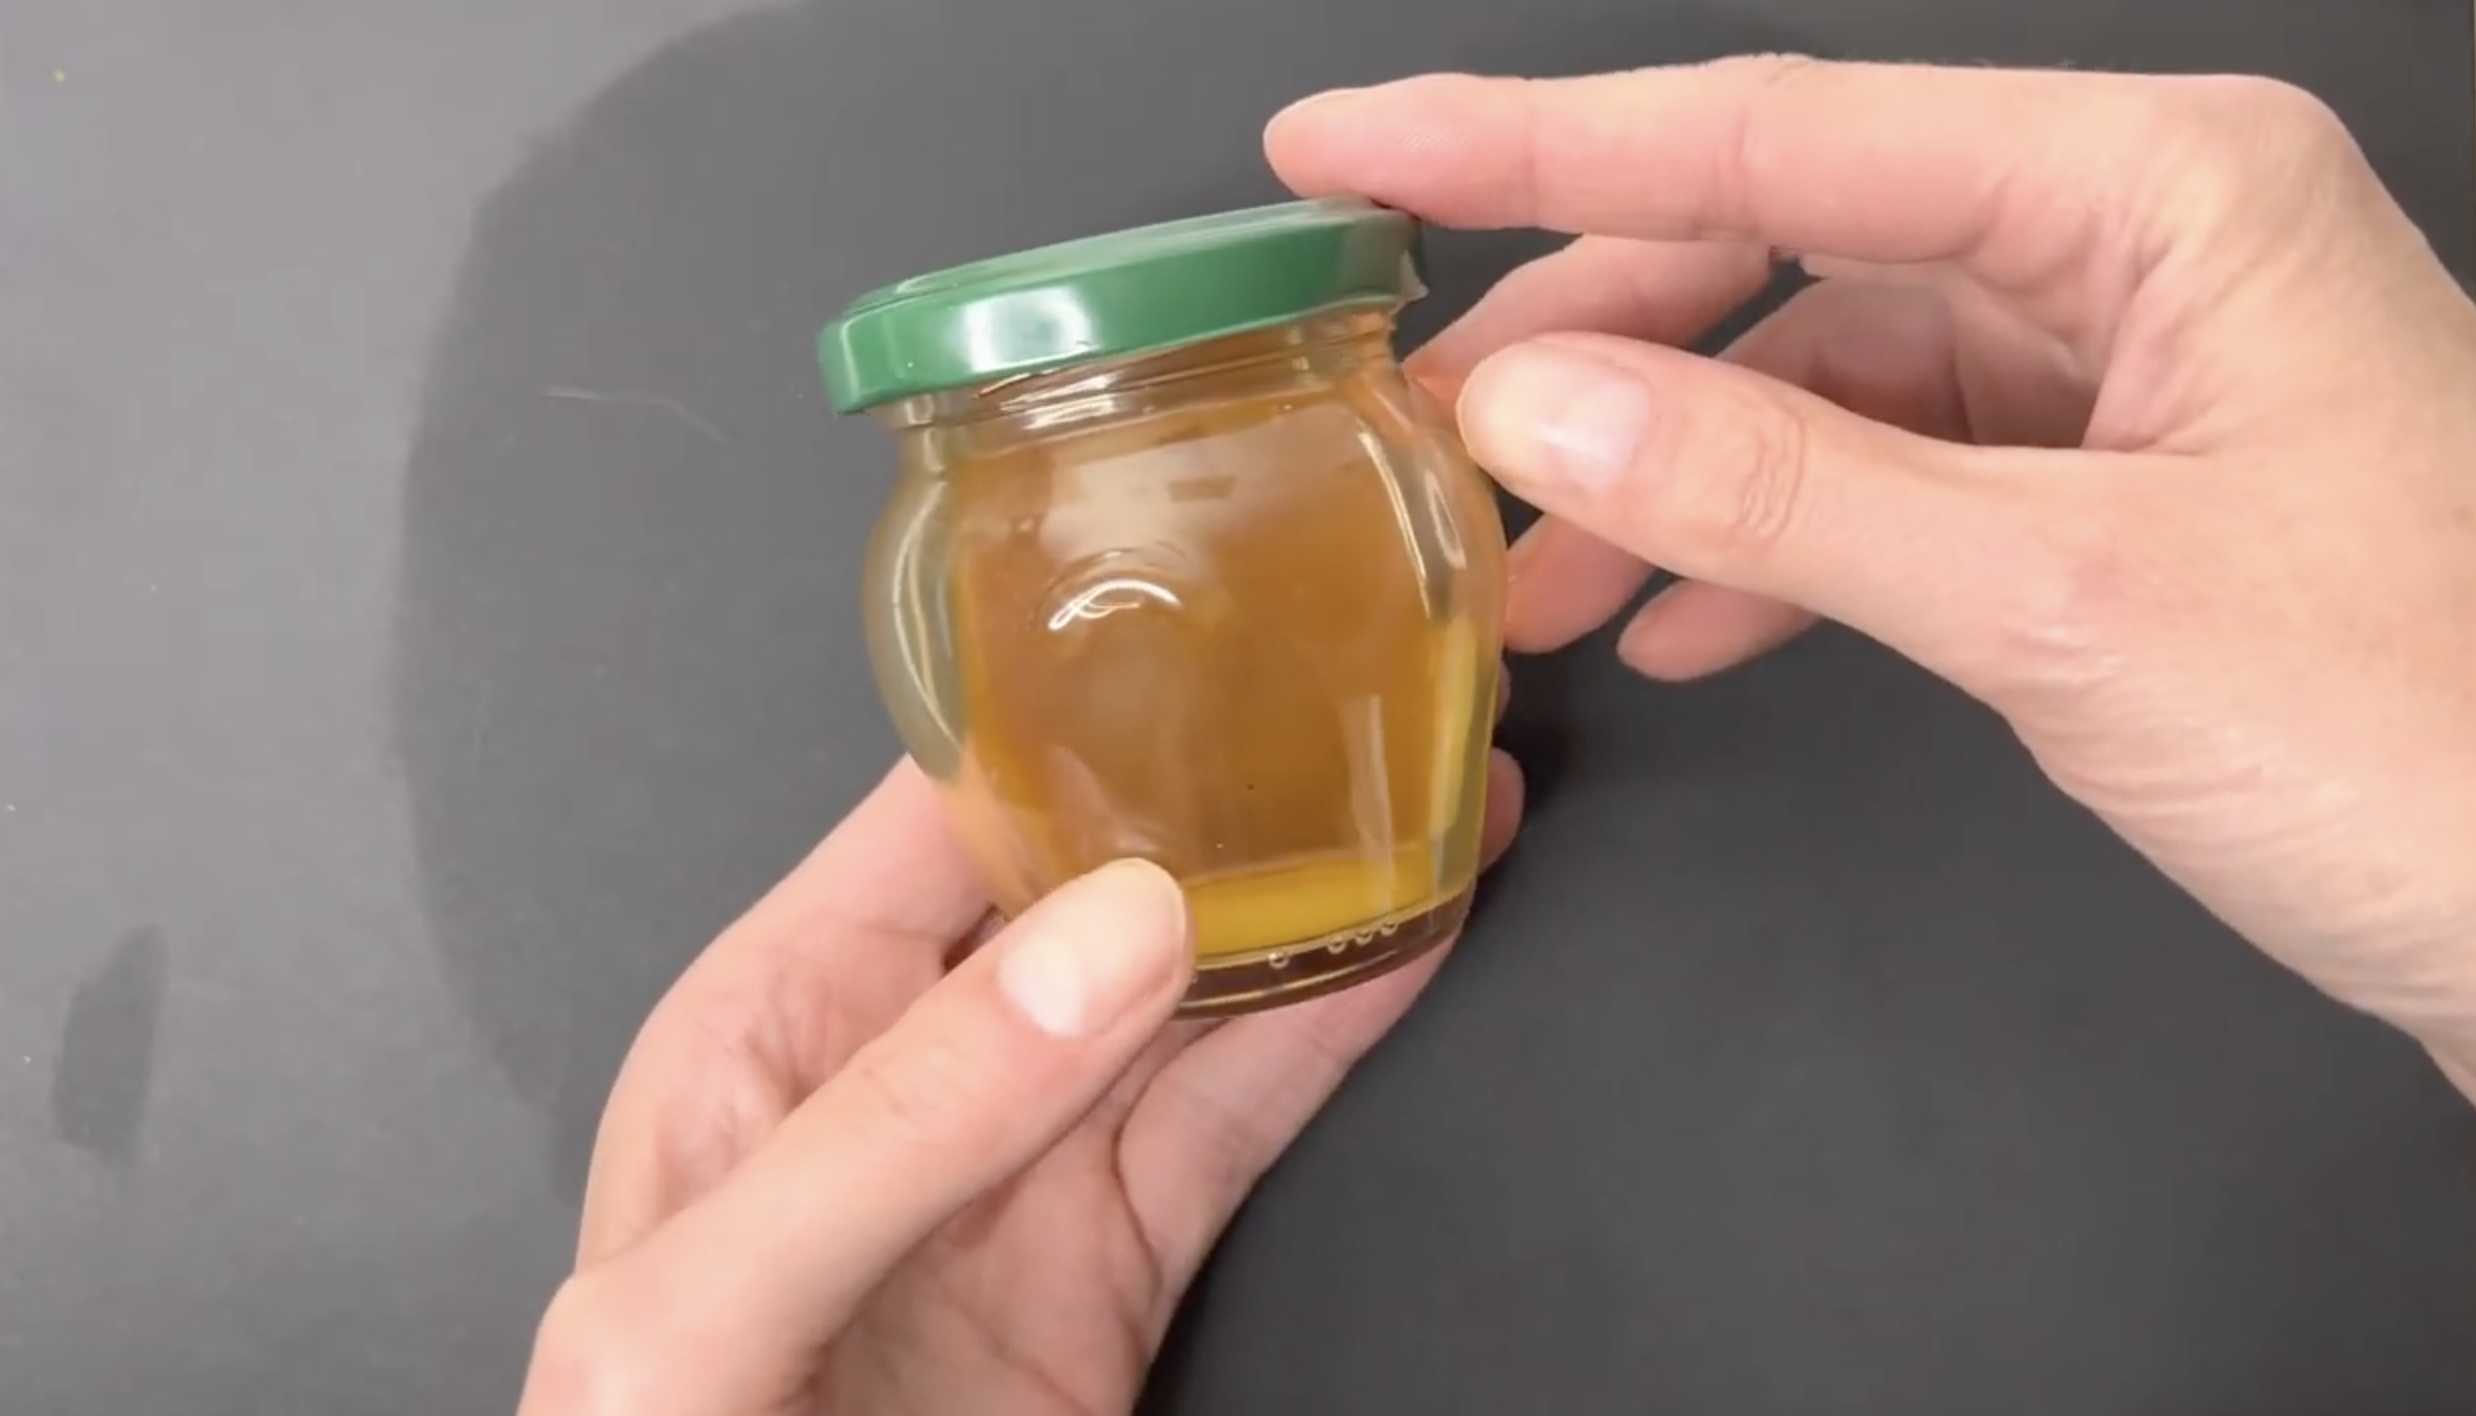
Result
The shellac flakes will have dissolved and the liquid will be a yellow-amber colour, you can give the jar a little shake to ensure everything is nicely mixed, now it’s ready to use!

3 Ways You Can Use Shellac
Priming for Gilding
Your shellac works as a primer for gilding your icon, simply apply it on top of your gesso and let it completely dry before you apply the gold size glue for your gilding.
Priming Paper
If you prefer to paint on paper instead of a wooden or clay panel, you can use your shellac to prime the surface. Make sure you use a thicker paper, then apply two layers of shellac, allowing each layer to completely dry before adding the next one. You’ll then be ready to apply your paint.
Priming Plain Wood Panels
If you would like to work on a wooden panel without a gesso layer, you can use this shellac mix to prime the surface ready for painting. The number of layers needed to prime the surface will vary depending on the type of wood that the panel is made of – the softer the wood, the more absorbent the surface will be. The best way to work out how many layers of shellac are needed is to test the surface after each layer is applied. To test the surface, apply a layer of shellac and allow it to completely dry, then apply a small amount of your paint to the surface and see how it behaves, if it is still being absorbed into the wood then another layer is needed. Repeat this until you see the paint behaving as expected and sitting on the surface of your panel. Then your panel is ready to paint on!
Put your shellac mix to use on one of our courses or at our workshops!